Homework #3 - Connecting Figma to Web Prototyping
Late Policy
- The penalty for being late is 10% for each late day.
- Submissions will be accepted until three days after the deadline. After that, it will be an automatic 0.
- Failure to submit will result in an automatic 0.
Intro
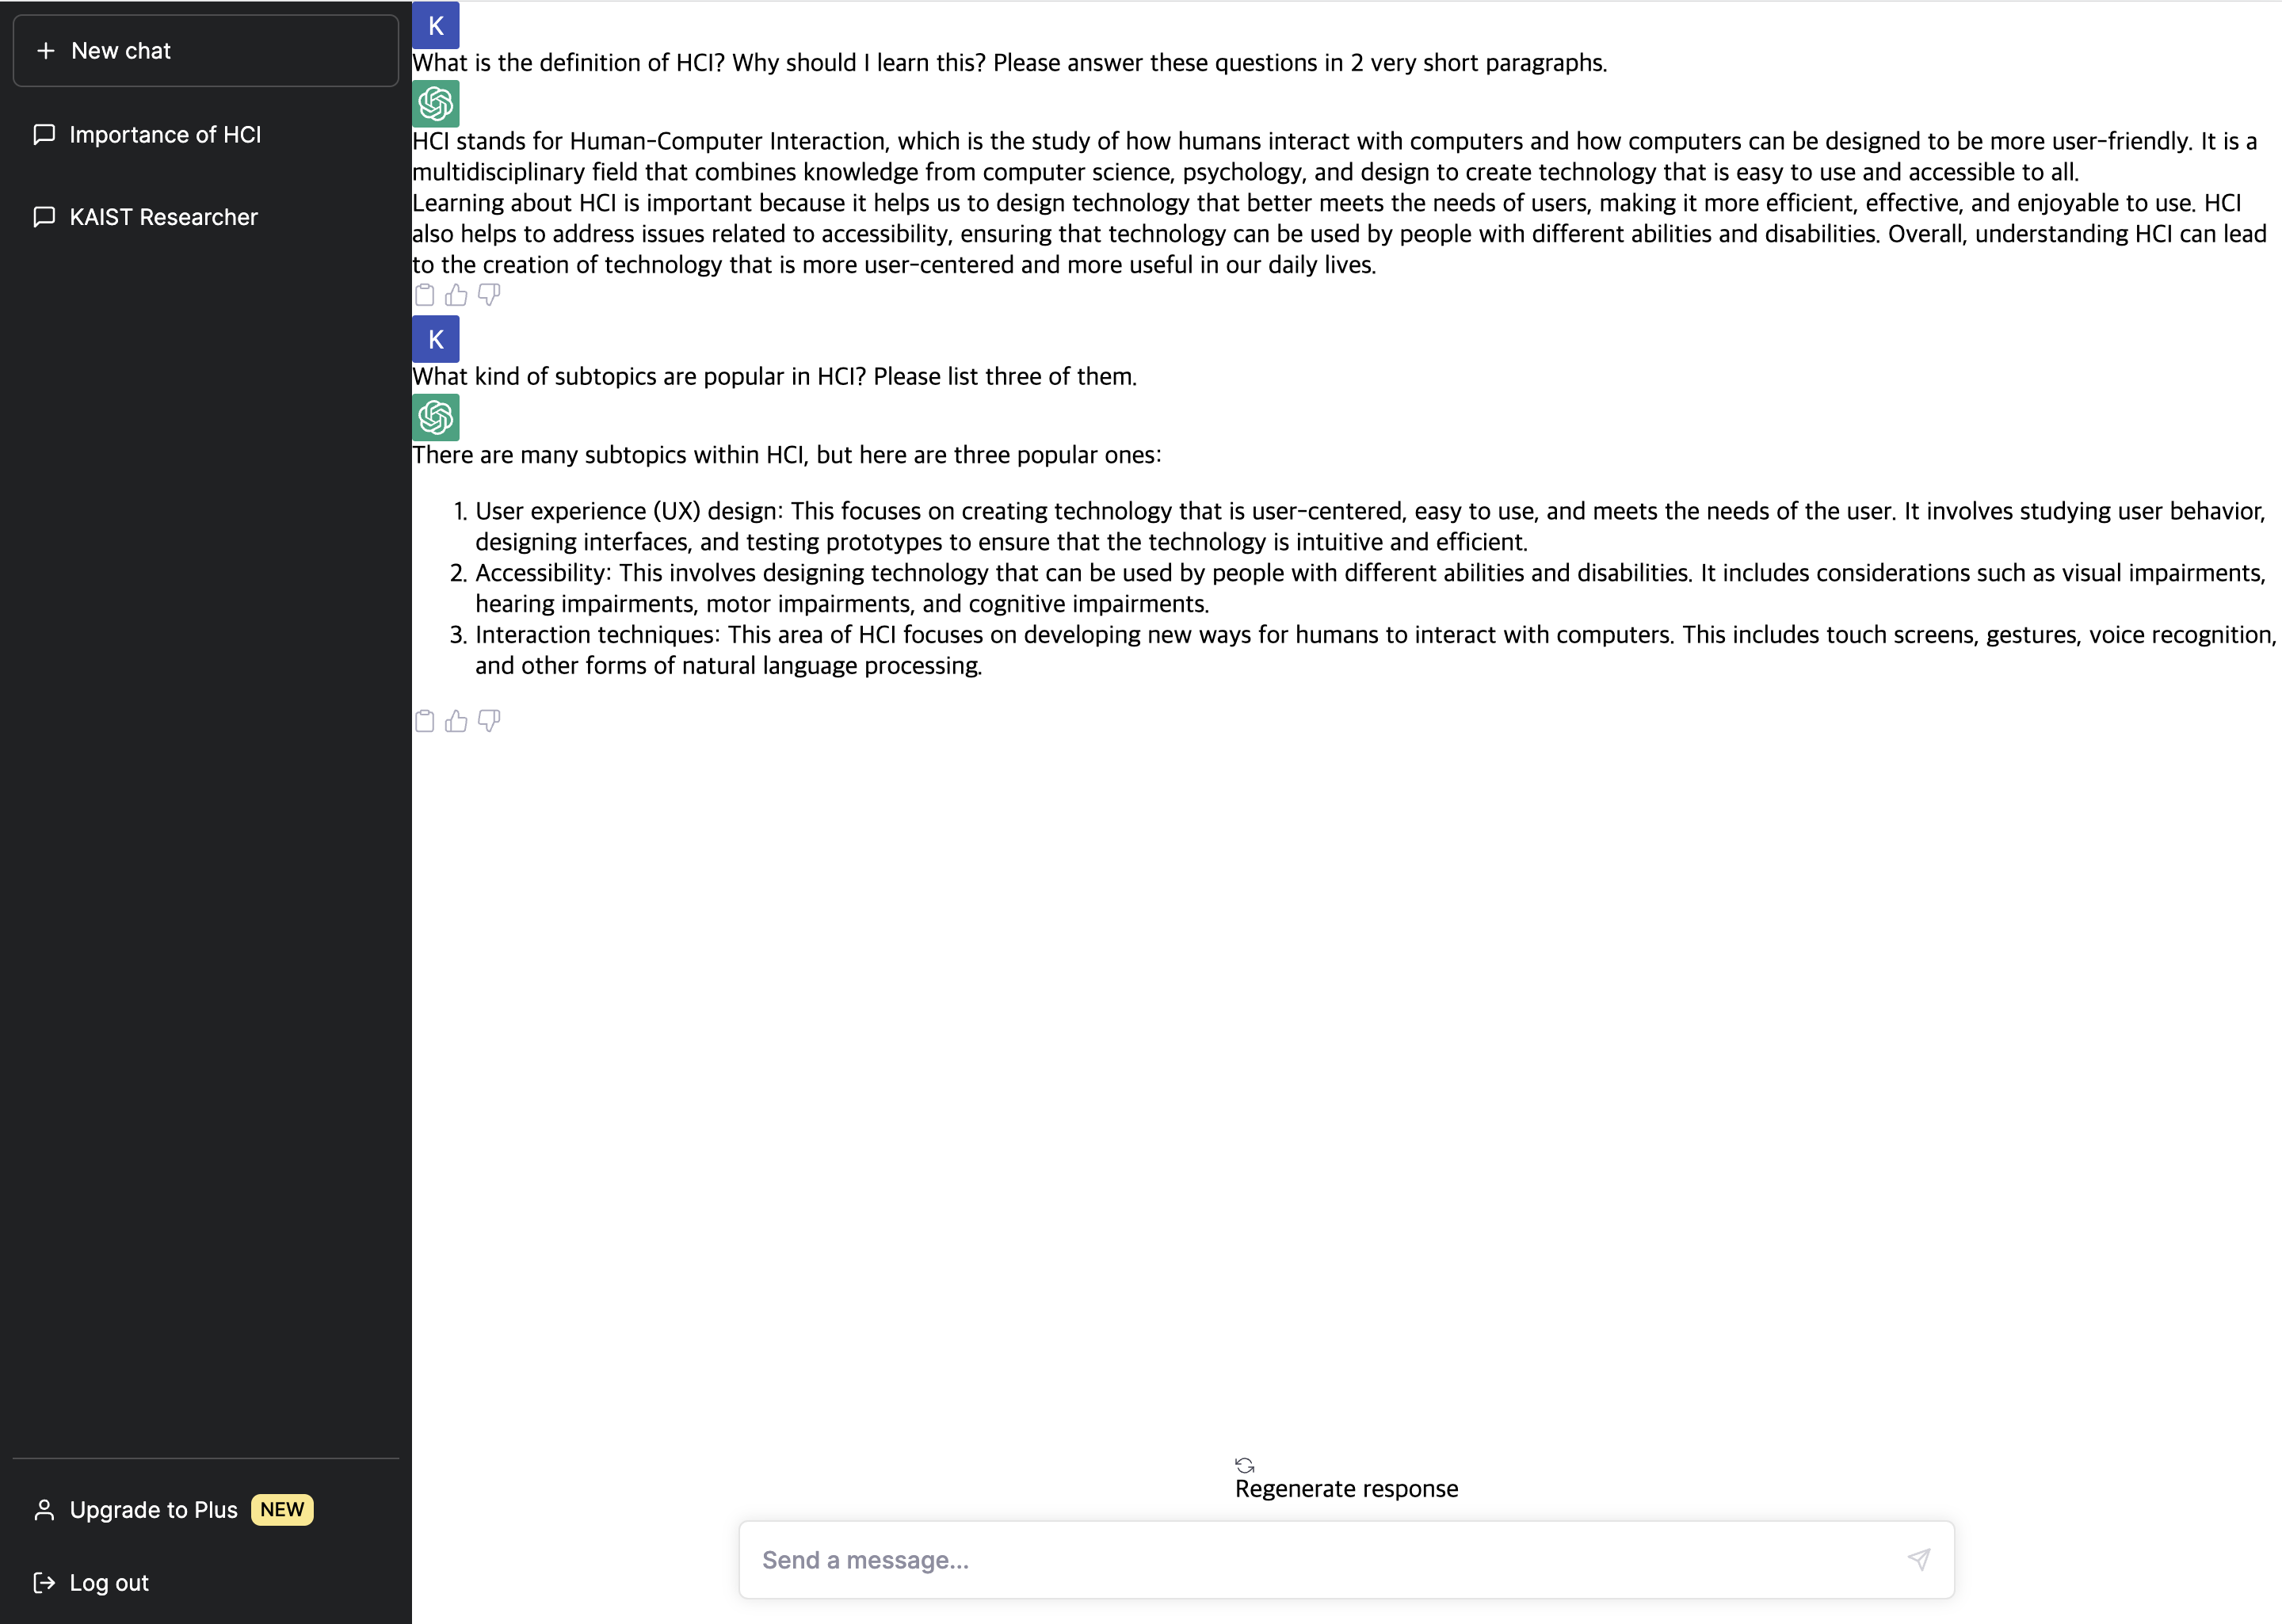
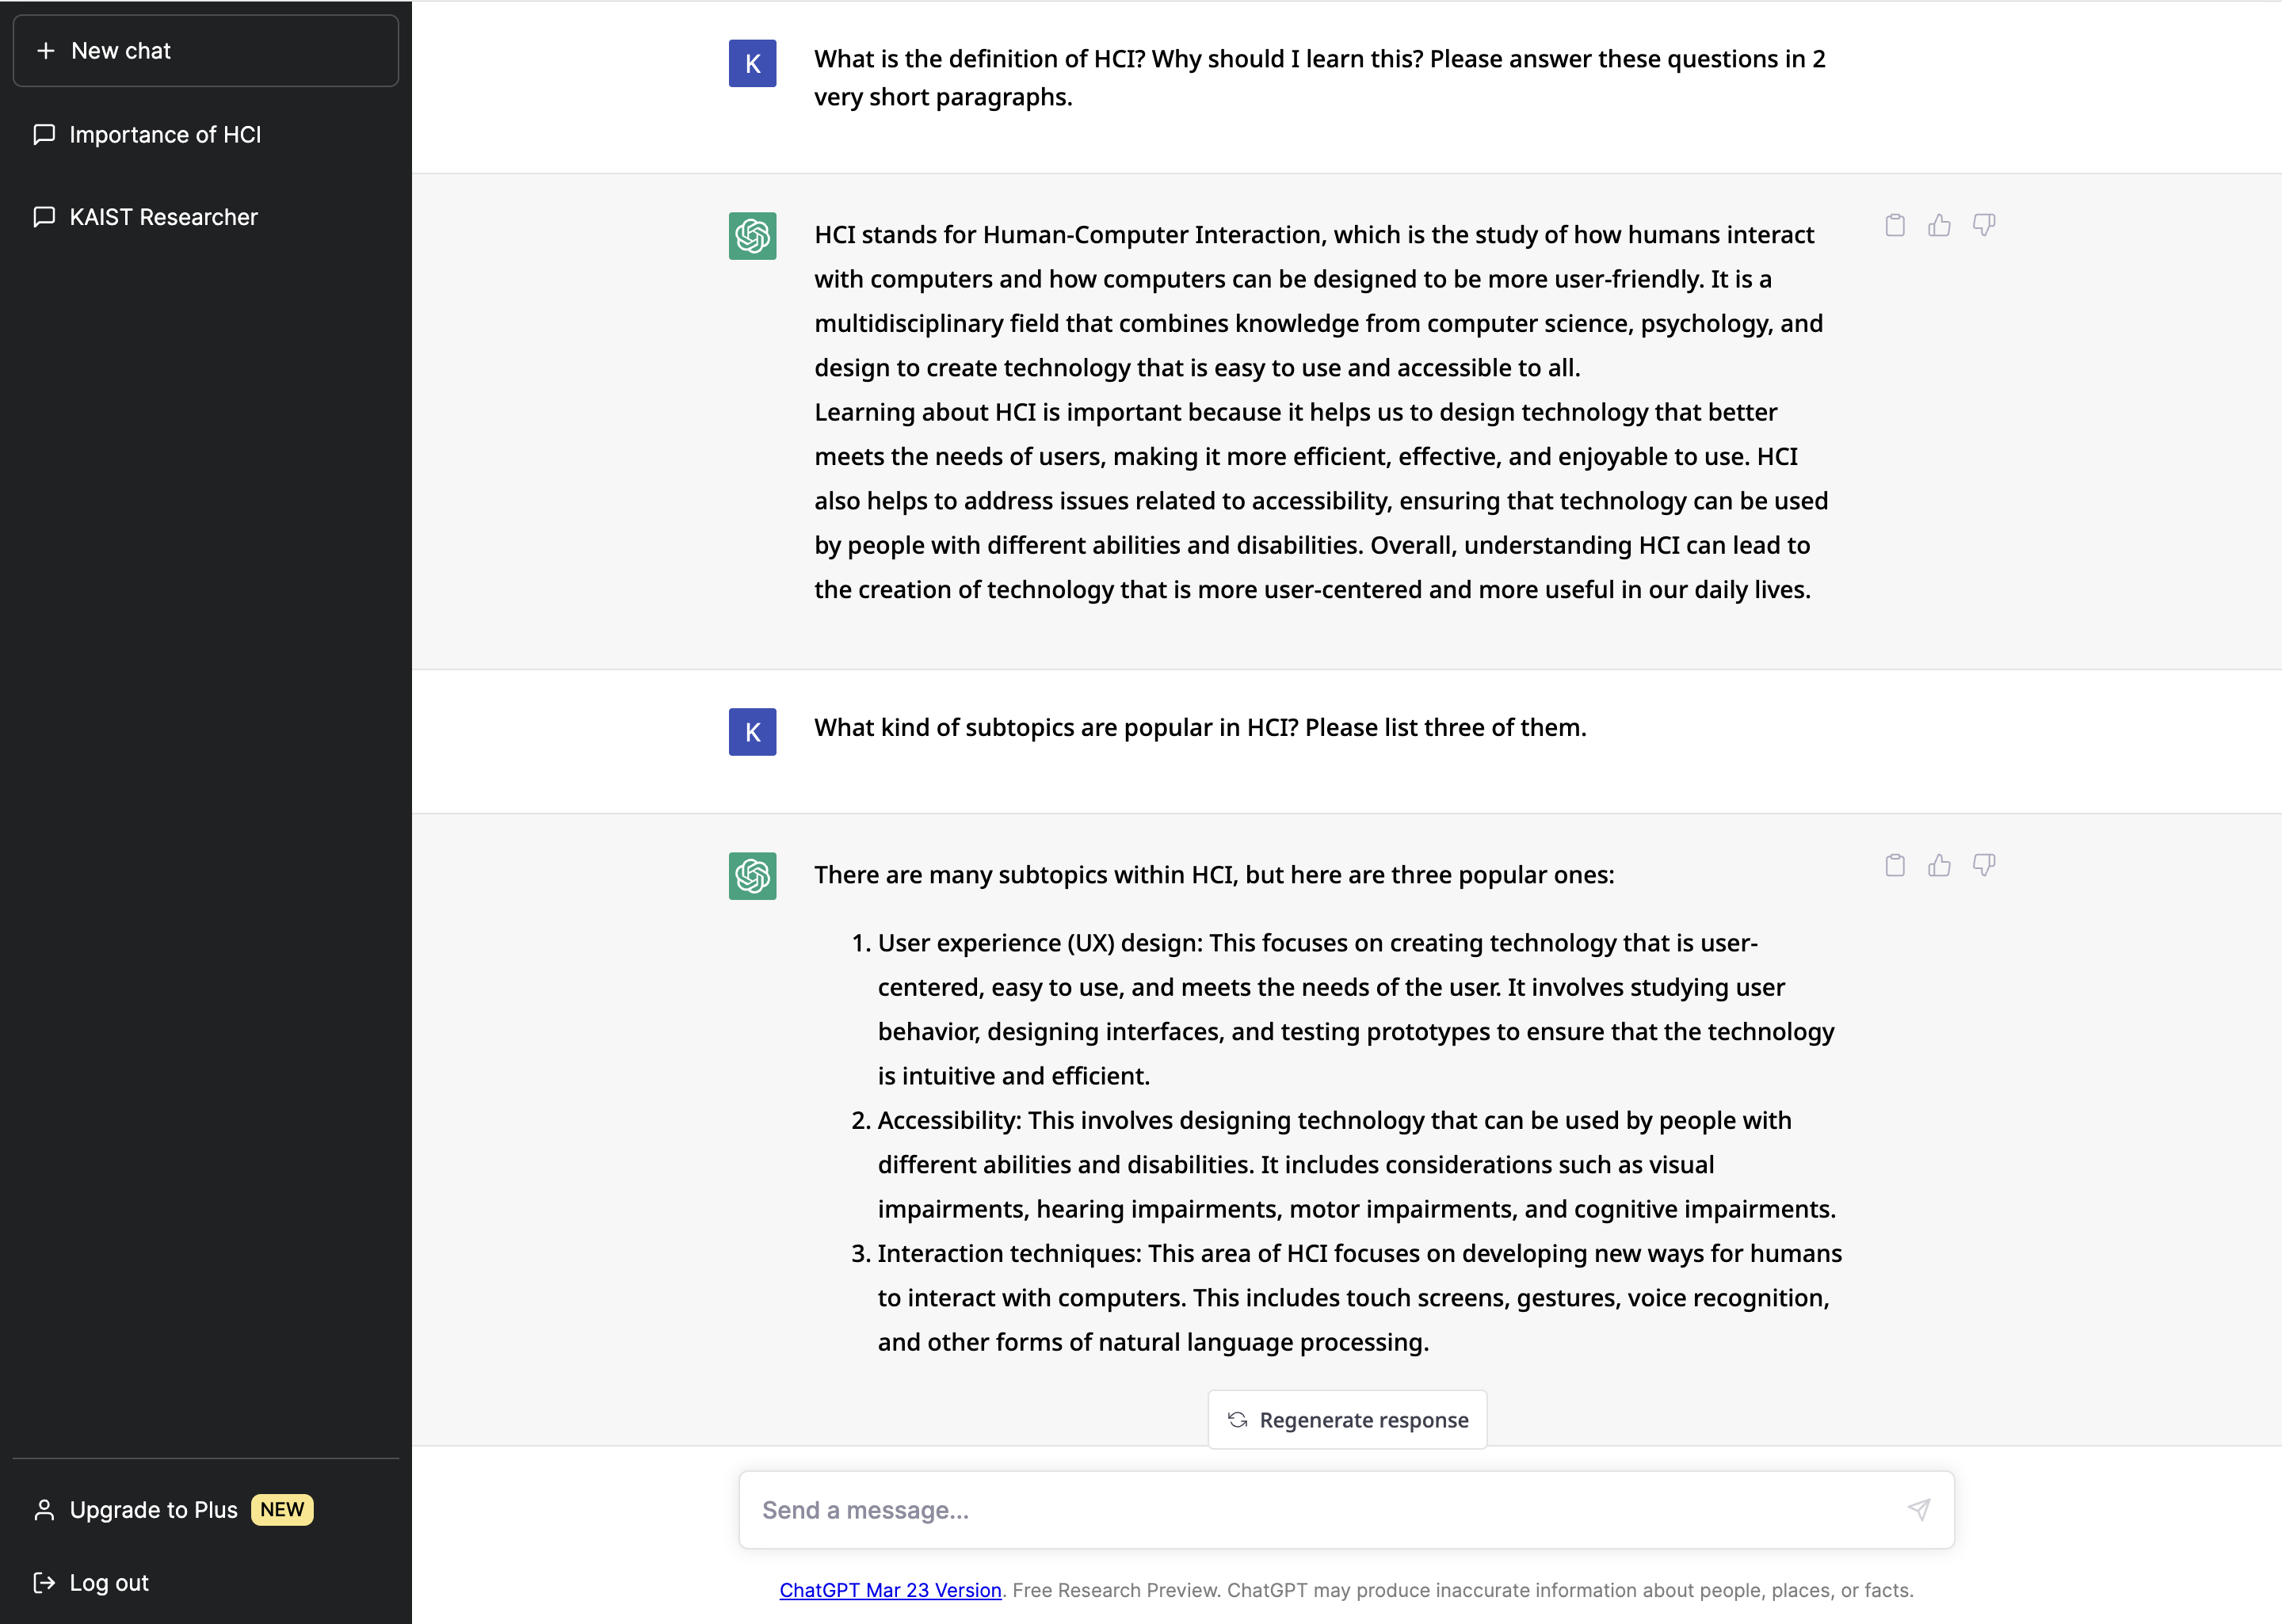
In the last assignment, we built a Figma prototype of the ChatGPT conversation page. For HW3, you will convert the Figma prototype you created in HW2 into a web application using React.js based on the layout you built.
Note: If you used AI-powered programming tools (e.g. ChatGPT, CoPilot) for the homework, please indicate so and describe for which part of the assignment you used those tools and how they improved your work. When submitting the homework, please include a text file named studentid_note.txt (e.g., 20210000_note.txt) for a detailed explanation and .zip it with codes together. The details of submission format are written below (section “How to submit?”) Note that we strongly encourage you to avoid relying solely on these tools, as they can hinder your understanding and practice of basic web programming concepts.
Notes on web programming
Although we do not offer in-class web programming tutorials, we encourage you to take on the challenge of creating a basic, interactive web prototype by completing HW3 on top of HW2.
This homework is designed only in the scope of basic web programming with given templates, meaning that you will be writing code with detailed instructions. The goal of this assignment is not to implement a web prototype from scratch, but to understand how different components of web programming (HTML/CSS/JavaScript) function together in a single web prototype.
To help you get started, we have compiled a list of recommended tutorials and materials :
- From previous years’ courses
-
Tutorial #1 - HTML and CSS ([PDF Code](https://www.kixlab.org/courses/cs374-spring-2021/assets/tutorials/tutorial1.pdf)) -
Tutorial #2 - JavaScript (PDF JS Code jQuery Code)
-
- (1 hour) HTML Tutorial for Beginners: HTML Crash Course
- (1 hour) CSS Full Course for free 🎨 (2023)
For those who do not have any prior experience in web programming, we have designed this assignment to serve as an entry point into the world of web programming. Do not be afraid to challenge yourself and explore this new field.
Where to start from?
To begin with Step 1, we provide you with a Sample Figma File that showcases the design of the prototype - this is the same design that was submitted as the answer for HW2.
We provide you with the starter kit. It includes a React.js project. You can check the codes in src folder. You can think that App.js is a root file for the overall interface, and there are many subcomponents in src/components folder. In this homework, you will add and modify a few lines of codes in the JSX and CSS files.
How to submit?
- Compress your code into (student_number)_hw3.zip. Please do not create any subfolders except for the images folder.
- As written in the Intro section, if you used AI-powered programming tools, please include explanations as studentid_note.txt file and include it in the root directory.
- Then upload the zip file to KLMS.
How to test my code before submitting it?
- TAs will evaluate your code on the latest stable version of Chrome for OSX. We expect no browser compatibility issues in this assignment (we’re not making a cutting-edge web application), but please test your code in your platform’s Chrome before submission.
- If there is a browser issue between Chrome versions in different OS, TAs will follow the behavior in the student’s OS. However, please make sure that you are not using any custom stylesheet in your Chrome.
Where to ask questions?
- If you have questions about this assignment, please post questions on Campuswire with the “Q\&A - Assignment” category. TA will answer within a day. Your classmates could answer as well.
- If you believe your question should be kept private, please send an email to cs374kaist@googlegroups.com. After answering those questions, TA may share the question with other students.
OK, what should I do?
Your task is to build an interactive web prototype for the conversation page in ChatGPT. You will import CSS from your Figma file, and modify parts of the React.js project code to implement the send-and-receive chat feature of a “dumb” ChatGPT.
This assignment consists of four steps, which in total sum up to 170 points. Please carefully read the instructions and follow them step-by-step.
STEP 0: Set up Environment
Step 0-1: Install Node.js
Go to https://nodejs.org/en/download and install the LTS version for your environment.
Step 0-2: Run npm install
In the terminal (or cmd, powershell…), move to the directory of the starter kit. Then run the npm install command. This command will install necessary dependency for this React.js project. If you can see the node_modules folder is created in the directory, it is successfully installed.
Step 0-3: Run npm run start
In the terminal, you can test the codes by npm run start command. This command will build the application and open it in your web browser.
STEP 1: Complete the CSS of the Chat Page (70 pts)
When you first open up the project by npm run start, you will see the page that looks like the below image. Currently, there is a missing design on the right side, which is the chatting interface for communication between the user and ChatGPT.
In this step, using the Figma file that we provide, you have to modify several CSS files for each component which contains codes for the design of the chat interface (including the user’s chat, ChatGPT’s chat, and “regenerate response” button). You will be able to make a complete interface as shown below.
Step 1-1: Complete user-side conversation component (20pt)
Let’s find src/components/chat/UserConversation.jsx and src/components/chat/UserConversation.css . Then open up the Figma design file that you made in HW2 to refer to the CSS attributes of each component.

In the upper image, the part marked in red is the part that is generated each time the user enters their message. You should modify the UserConversation.css file to make the interface the same as the design in the Figma file. Feel free to modify the class user-conversation-container in the CSS file and add a new class if necessary.
You should refer to the CSS attributes from the Figma file. Click on the text element in user_conversation component in the Figma file, and open the Inspect panel to check the generated CSS code. Read through the CSS attributes, and copy the attributes that you think should be included in your CSS file.
- (10pt) Overall layout of component (Padding, gap, alignment between icon and text, background color, etc)
- (10pt) Style of text (Font, font size, line height, font weight, etc)
Step 1-2: Complete ChatGPT-side conversation component (30pt)
Let’s complete the design for ChatGPT’s chats as well.
Just like what you have done in step 1-2, write CSS codes for the (1) entire chat component (red), (2) text (blue), and (3) icon group (green).
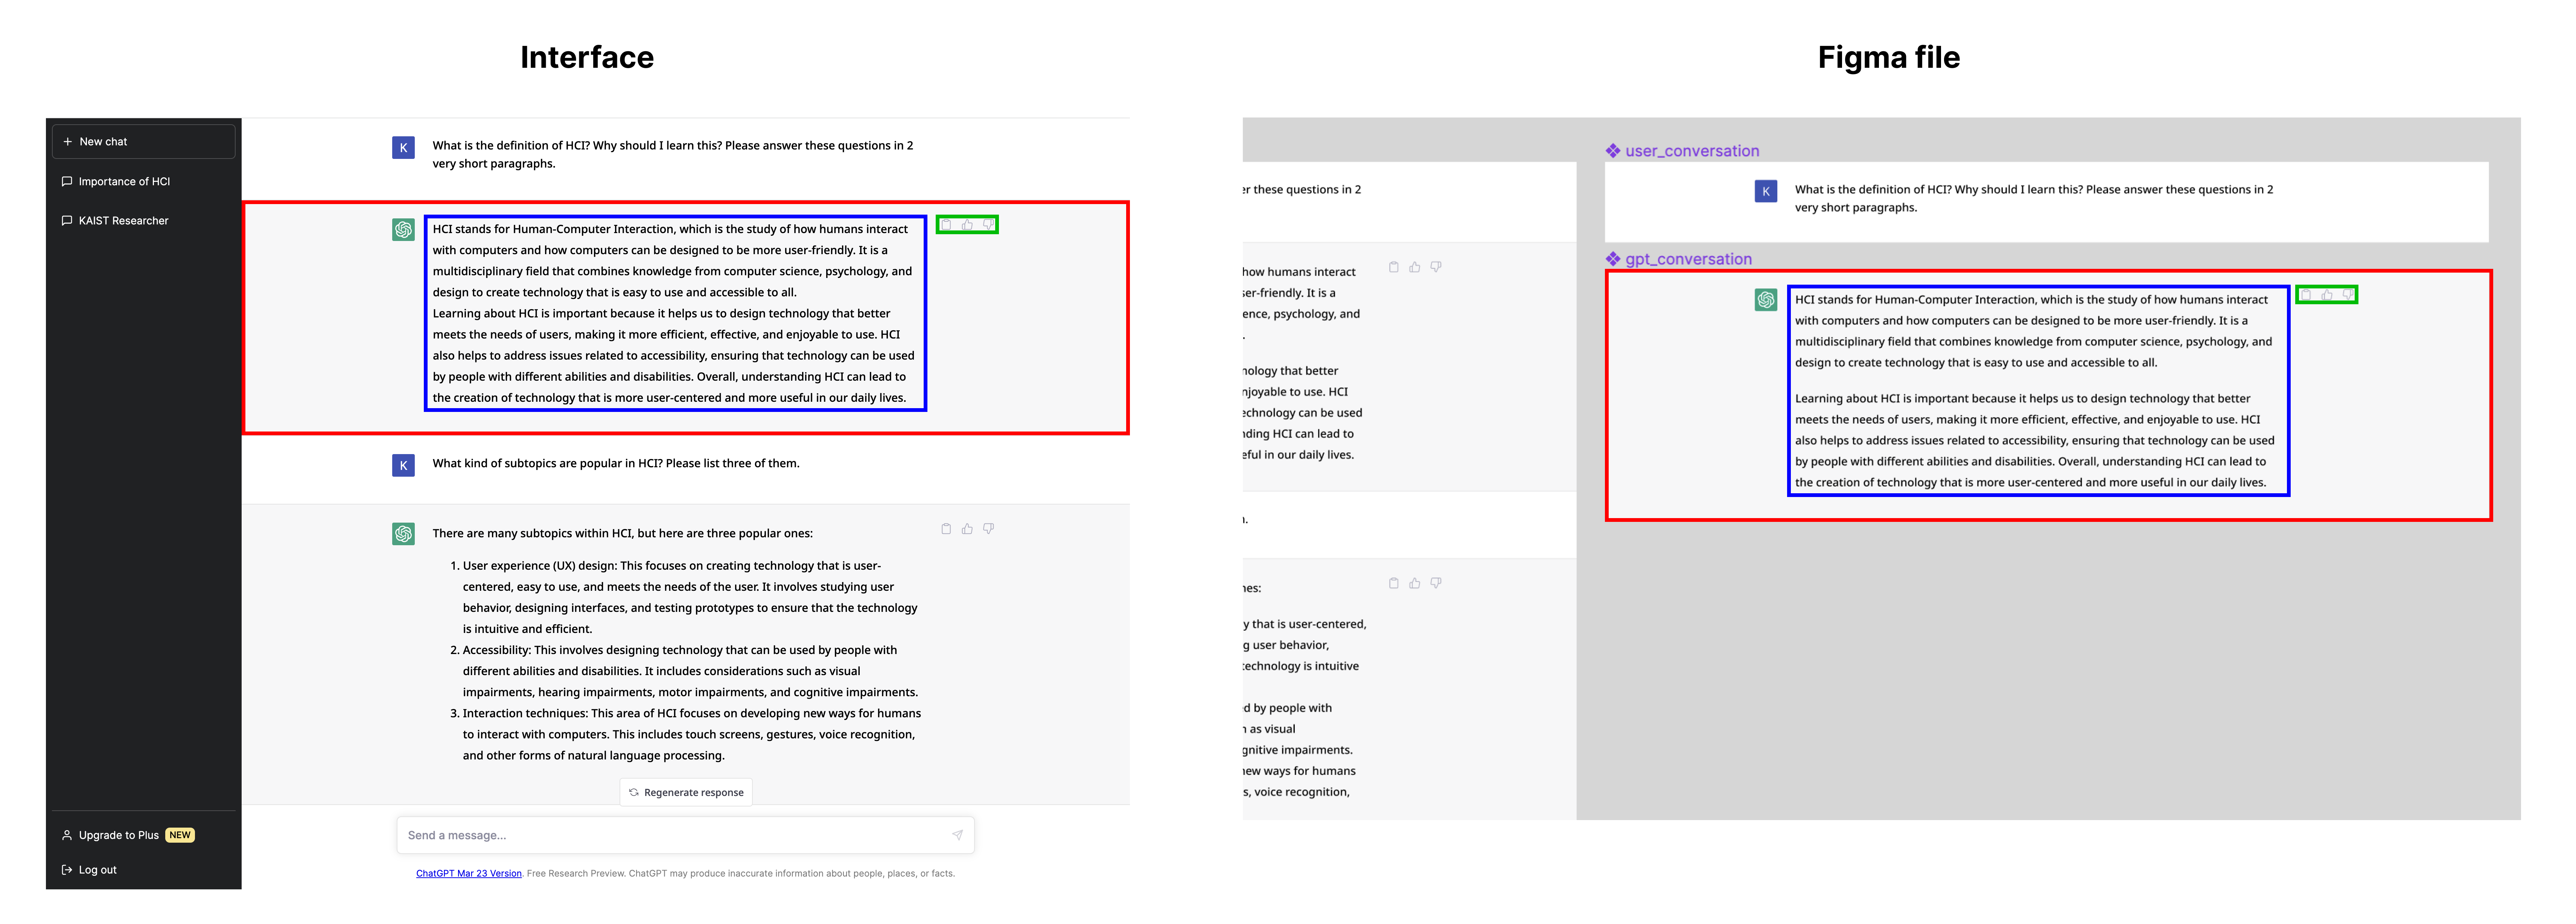
You should modify the GPTConversation.css file to make the interface the same as the design in the Figma file. Feel free to modify the class gpt-conversation-container in the CSS file and add a new class if necessary.
You should refer to the CSS attributes from the Figma file. Click on the text element in gpt_conversation component in the Figma file, and open the Inspect panel to check the generated CSS code. Read through the CSS attributes, and copy the attributes that you think should be included in your CSS file.
For each icon in the icon group, please make sure that each icon looks ‘clickable’. (hint: cursor: pointer;)
- (10pt) Overall layout of component (Padding, gap, alignment between icon and text, background color, etc)
- (10pt) Style of text (Font, font size, line height, font weight, etc)
- (10pt) Layout and style of the icon group (Padding, gap, alignment, clickable, etc)
Step 1-3: Complete “Regenerate response” button (20pt)
Lastly, let’s put the design in the “Regenerate response” button at the bottom of the screen. You can find out the code src/components/chat/RegenerateResponse.jsx and src/components/chat/RegenerateResponse.css .
- (10pt) Layout inside of the button (Padding, gap, alignment, etc)
- (10pt) Style of the button and text (Button color, border, text style, etc)
STEP 2: Implement the Send Chat Feature (70 pts)

Now you will have a styled ChatGPT chat page with JSX and CSS file. In this step, we will add the send chat feature step by step. You will start to modify the src/App.js file from now on.
태그 변경 -> component 변경 -> use state의 변수 기반으로 list map (condition) -> 버튼 핸들러
Step 2-1: Update HTML and CSS (20pt)
Here, you will modify the HTML+CSS file to change non-interactive components into the appropriate HTML tag. You can find the following part of App.js:
```
<div className=”chat-box”>
        \<div className="message" /\>

        \<div className="send"\>

          \<img src={send} alt="send icon" /\>

        \</div\>
</div>
```
- (15pt) Input box for entering user chat
- (5pt) Change the div tag of “message” into an
input. - (5pt) Add id attribute with ‘hw3_input’ into the input element.
- (5pt) Add a placeholder attribute with ‘Send a message…’ into the input element.
- (5pt) Change the div tag of “message” into an
- (5pt) Button for sending the chat
- Change the div tag of the “send” icon button into a
button.
- Change the div tag of the “send” icon button into a
Step 2-2: Update Components (10pt)
The reason we made components, UserConversation and GPTConversation, is reusing them conveniently. Here, you should modify the components to take message data by parameter. You can refer to src/left-bar/ChatItem.jsx to learn how to use props.
- (5pt) Update
UserConversationcomponent to take text message bypropsand show it in interface part. - (5pt) Update
GPTConversationcomponent to take text message bypropsand show it in interface part.
Step 2-3: Implement the behavior of the “send” icon button (20pt)
In App.js, you can find const [conversationList, setConversationList] = useState([]);. In React.js, we use the useState hook to store states (data). To update the state, we can use a setter function (here, it is setConversationList). To use the stored data, we can just use conversationList here. To learn more about the useState hook, please read https://react.dev/reference/react/useState.
The goal of step 2-3 is updating conversationList by using setConversationList when the user types in the input and presses the send button. You can extract the typed messages by using document.getElementId(‘hw3_input’).
When you store the message data, you should save the data in the format of {type: <‘user’ or ‘gpt’>, message: <text message from the user>}. For example, setConversationList([...conversationList, {type: “user”, message: message}]). The type attribute will be used for identifying if it is a message from user or gpt.
- (5pt) Implement
addUserMessagefunction inApp.jsto updateconversationListby taking user message from parameter. - (5pt) Add
addUserMessagefunction to send button as anonClickhandler. - (5pt) Implement a keypress handler so that when the user press Enter (keyboard) in the input box, it behaves same as when the user clicks the “send” icon button.
- (5pt) After sending a message, the value of the input element should be cleared.
Step 2-4: Update the ‘chatlog’ to present the data in conversation list (20pt)
Now let’s implement showing the messages from users based on the conversationList. In App.js, you can find <div className="chatlog">. You should use map function (e.g., conversationList.map(...)) to present stored messages. If the type is ‘user’, it should use UserConversation. If the type is ‘gpt’, it should use GPTConversation.
- (20pt) Modify inside of ‘chatlog’ to present data from
conversationListbased ontypeon each conversation data.
STEP 3: Provide Response to User’s Input (30 pts)

In the previous step, you have successfully implemented the send chat feature. Now, let’s add ChatGPT’s dummy response, and make it look natural.
Step 3-1: Provide a dummy response to the user’s input (10pt)
Unfortunately, the ChatGPT we are implementing is not-yet-advanced, meaning that it does not have the ability to interpret user’s input and provide an appropriate response. The prototype will only output responses taken from a predefined list of responses.
- (5pt) Import the
responseslist fromsrc/data/responses.jsand select one random response from the list. - (5pt) Every time when the user input is added to the chat history, the randomly selected response should be added to the chat history as well. You can add this in the
addUserMessagefunction.
Step 3-2: Make the response look natural by adding delay and autoscroll (20pt)
- (10pt) Add a 3-second delay to the ChatGPT’s response
- (10pt) Automatically scroll down to the bottom whenever a new response is added.